This will be a quick tutorial on how to use the Kari Avatar Studio.
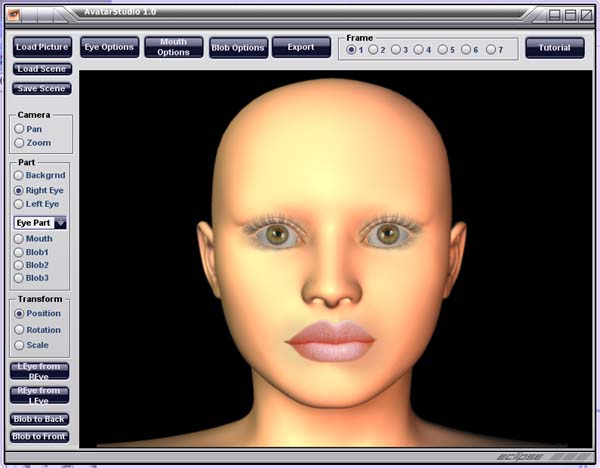
Run the Avatar Studio.
Kari Avatar Studio (KAS) was designed to quickly create a simple avatar from almost any picture. The reason we need an Avatar Studio is because Kari needs information like moving mouths and moving eye blinks to animate. So KAS was designed to mimic these missing pieces in the form of pre-rendered mouths and eyes so that anyone with little or no skill can make a new Kari scene.
Lets get right into it.
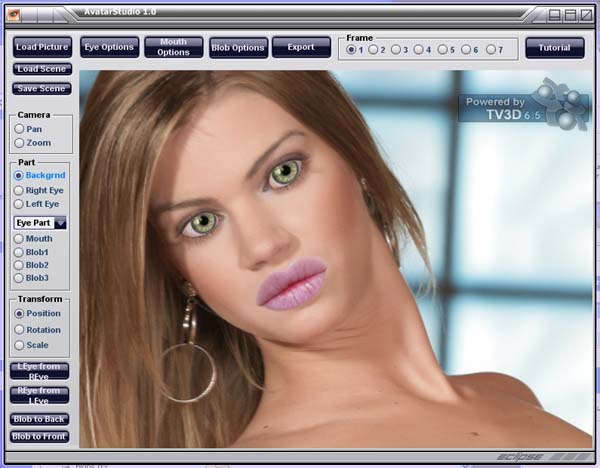
Click Load Picture at the very Left-Top of the window. Point the dialog window to the C:\Program Files\KariAvatarStudio\Tutorials\girl1.jpg - this is the image we will use for this tutorial. (you may have installed KAS in a different directory) The image fills the background tile.You can also download the picture HERE.
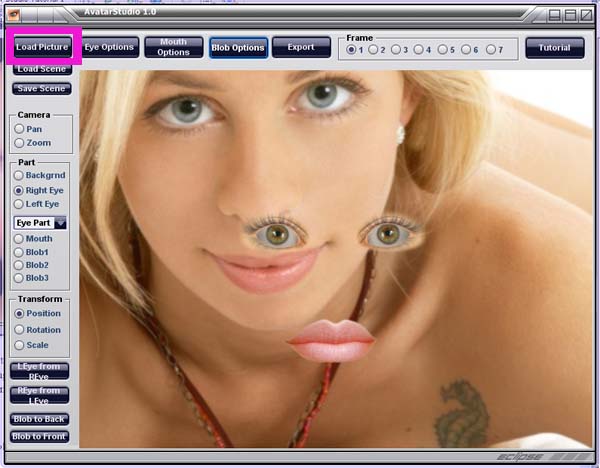
Click on Right Eye option under Part on the left side of the window. Make sure Position option is checked under Transform. What we are doing is just telling the program we want to move the Right Eye.
Now with the mouse click and drag. Move the right eye over her right eye. We won't worry about fine-tuning just yet.
Do the same for the left eye by clicking Left Eye option under Part on the left side of the window.
And do the same for her mouth by clicking the Mouth option and then moving it on top of her mouth.
Lets center her face by clicking Camera - Pan. Drag the mouse and center her face in the window.
Lets size her eyes to a good size. Click Part - Right Eye and Transform - Scale . Now right-click and drag the mouse to scale her eye horizontally and left-click and drag to scale vertically. The eye should cover her real eye and look like it belongs there. You can use the Transform tools (Position, Rotation, Scale) to get it just right.
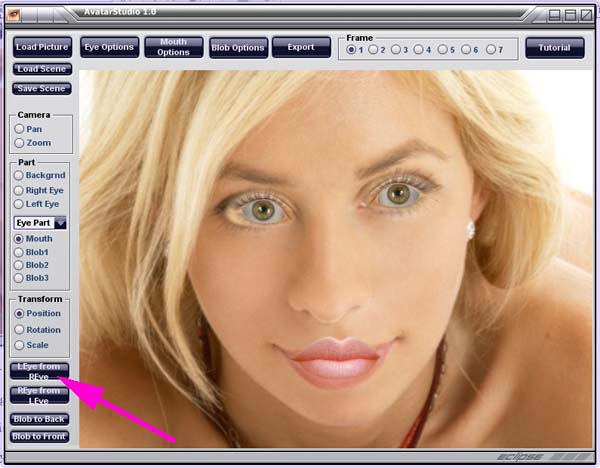
When you are happy, click LEye from REye Button. This will mirror your eye to the Left eye. Select the Left Eye and adjust her left side.
Now select her Mouth from the options and to the same for her mouth. You should have something like this:
Lets adjust her irises. Right now she looks a little wild-eyed.
Select Part - Right Eye option. Then in the drop-down list under the eye options, select Iris.
Make sure your Transform is on Position.
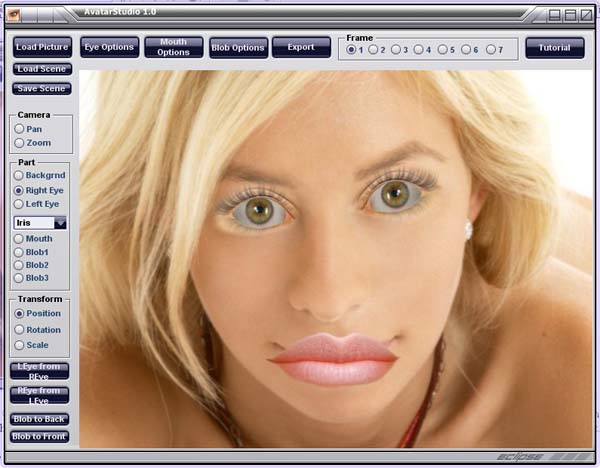
Now drag the right iris up and place it a little under her eye lid. Do the same for the left hand side. (Click Left Eye option)
I also scaled her irises a little to make them bigger by clicking on Transform - Scale. I figure by this point you are understanding how all the options work in conjunction.
You should have something like this:

Lets click on the Mouth Options button at the top of the window there.
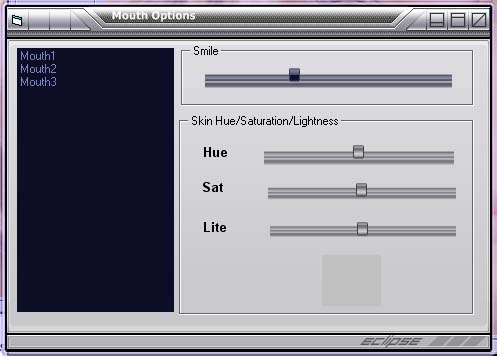
Lets give her a smile so that it better matches the picture. You can see her mouth update in real-time as you move the slider.
Looks a little short hortizontally doesn't it? I'm gonna rescale the mouth I think and rotate it so it fits. Now I have something like this:

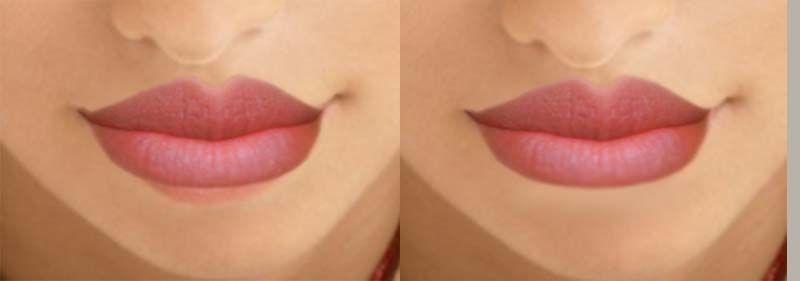
I'm gonna adjust the color of her lips now. Go to Mouth Options again. See those 3 sliders down there? Those control every aspect of the mouth's color. Eye Options have very similar sliders. This lets us match and customize our girl the way we like her.
So I'm going to adjust the saturation first, then some hue, and darken it a little with the lightness slider. Feel free to adjust yours however you want it.
You might also want a completely different mouth! Click on the mouth you most like on the list to the left. As of the writing of this tutorial we only have 3 mouths to pick from. Many more will probably follow. I'm gonna stick with the mouth I already have.

Lets get to those eyes! Select the Right Eye. Next click the Eye Options Button.
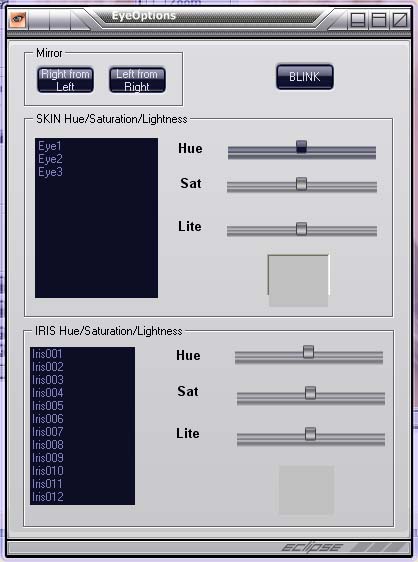
If we look closely at her eyes we will see that the skin around her eyes doesn't quite match her real skin. Lets adjust this now using the SKIN Hue/Saturation/Lightness sliders.
Since we have our Right Eye selected when we change the sliders her Right Eye changes color.
I started with the Lightness slider. Looks like her real skin is darker. -9 looks about right. Hue is about a 2. And Saturation is about a -17. That looks about right.
Do the same for the Left Eye. Select the Left Eye from the main window. This will tell the program you want to change the color on the left eye now.
All I did for the left eye was change the Saturation to -4 and the Lightness to 4.
See? Her eye skin match the real skin now.
Lets get to those Irises! Look how many you have to play with! Over 40! Click on any Iris in the list at the bottom of the Eye Options Window.
Choose your favorite. Then you can play with its colors by adjusting the sliders on the right of the list. Have fun. I usually take this time to tweak and adjust iris scale too.
Tip: You know those pretty eye reflections? That glossy shine over the eyes? You can scale the Iris to a negative value to get the shines from each eye to match each other. Just click Left Eye (or Right Eye), choose the Iris as the element part, and scale it until it disappears and grows in the opposite direction.
Ok! This is what mine ended up looking like:
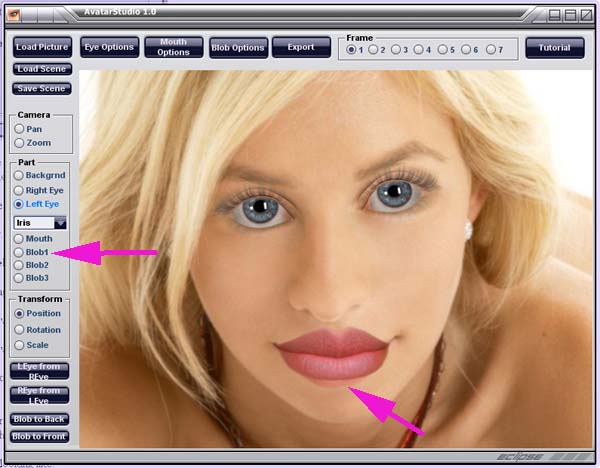
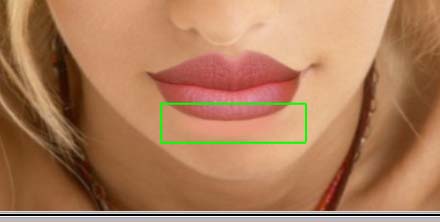
Hmmm! Look at her bottom lip. There is a funny color where her real lip doesn't match and shows thru!
We are going to use Blops to cover it up.
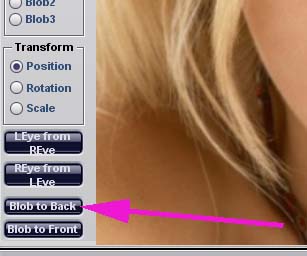
Click on Part - Blob1 Option. Blob1 appears:
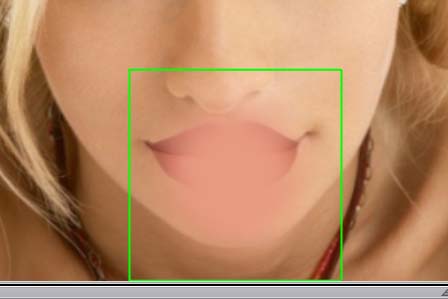
Blobs are just color patches we can use to cover up inperfections.
First lets scale it! So click on Scale in the Transform options and scale it to a nice size to cover up that lower lip imperfection. Also, click Blob to Back Button to send the Blob behind the mouth. Right now the blob is on top of the mouth. We want it in back.
Now you can position the blob, rotate it, and scale it just like all the other elements. Tweak it until its covering that little imperfection. I made my blob kinda flat and horizontally long.
If you are like me, I'm a perfectionist, so we need to change the color of that blob to match the skin. Its a little too pink right now.
Click the Blob Options Button
.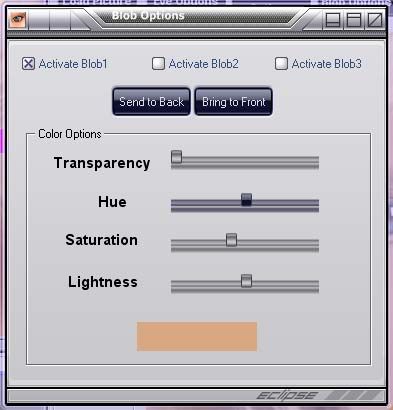
Look familiar doesnt it? Since we only have one Blob right now (and only need one) only "Activate Blob 1" is selected. If you need more blobs activate them with the checkboxes up there on top.
Ok, lets change the color of this blob. I ended up setting Hue to 2, Saturation to -19, and Lightenss to 4. You might get different results.
Whala! No more imperfection.
Please check all your frames before you export to see that there are no imperfections:

Ok, lets save our Scene. Click on Save Scene Button and save it out in case we want to bring it back in and retweak it later.
Now we are ready to export it into Kari.
Click Export Button. The window will automatically be resized to fit the Kari Program Scene size. Before you click Export Scene you might want to use the Camera Pan/Zoom to get a good view of your girl. This is the way it will be exported into Kari.
Give you Scene a unique name. I have found that I use a prefix just for AvatarStudio. I name my girls something like KAS-Linda, KAS-Mary, etc. So that I know where to find them. So many scenes to play with huh? If you are going to be playing with AvatarStudio you will have a ton.
Ok, when you are ready give you girl a name and click Export Scene. The program will automatically export your scene to your Kari. It might take a few seconds. Its important not to bother the program while its doing its thing.
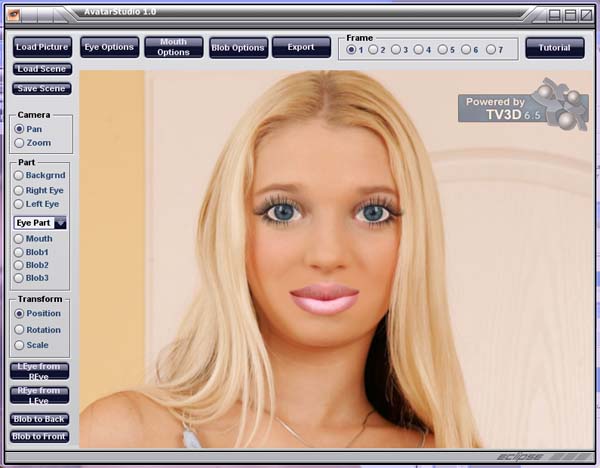
Run Kari. Choose the scene from the Scene Manager. Your new girl appears.
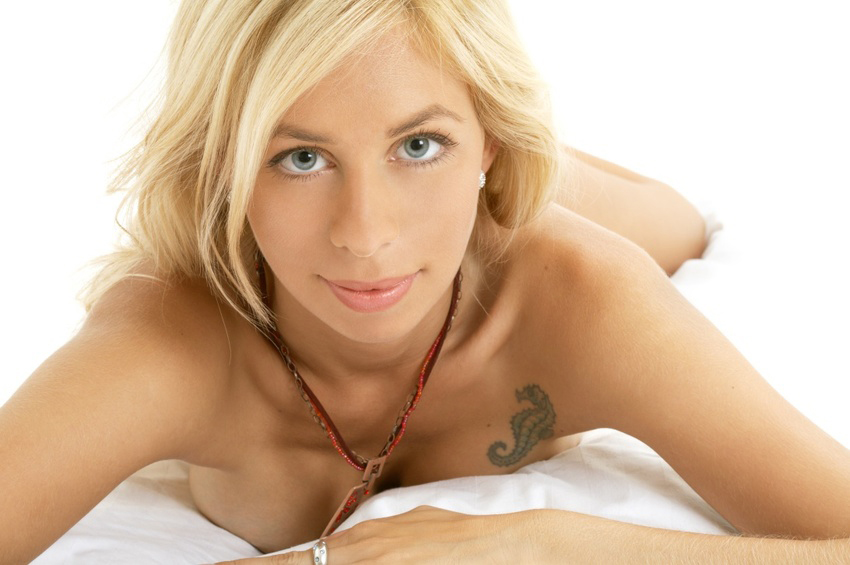
Now its time to make your own girls. Choose pictures that face the camera and that don't have too much going on. With practice you'll soon become a pro and make darling little vixens. Here are a couple of mine. :-P
The End