Kari Python Kit Tutorial: SDXL-Turbo Art Generator

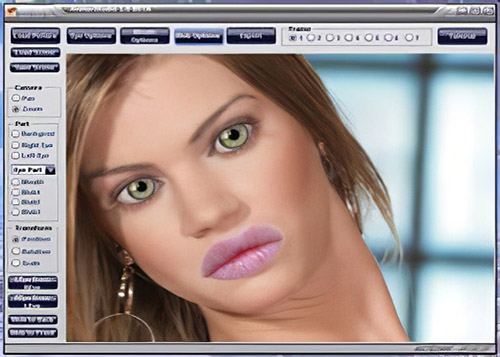
Tonight we're going to hook up the SDXL-Turbo real-time art generator to Kari's Python Kit. You'll be able to get AI generated images about the conversation you and Kari are having. Since this model is so quick our conversation and the images created should run smoothly.
Like all AI art generators, you will need a descent GPU (video card) to make this work.
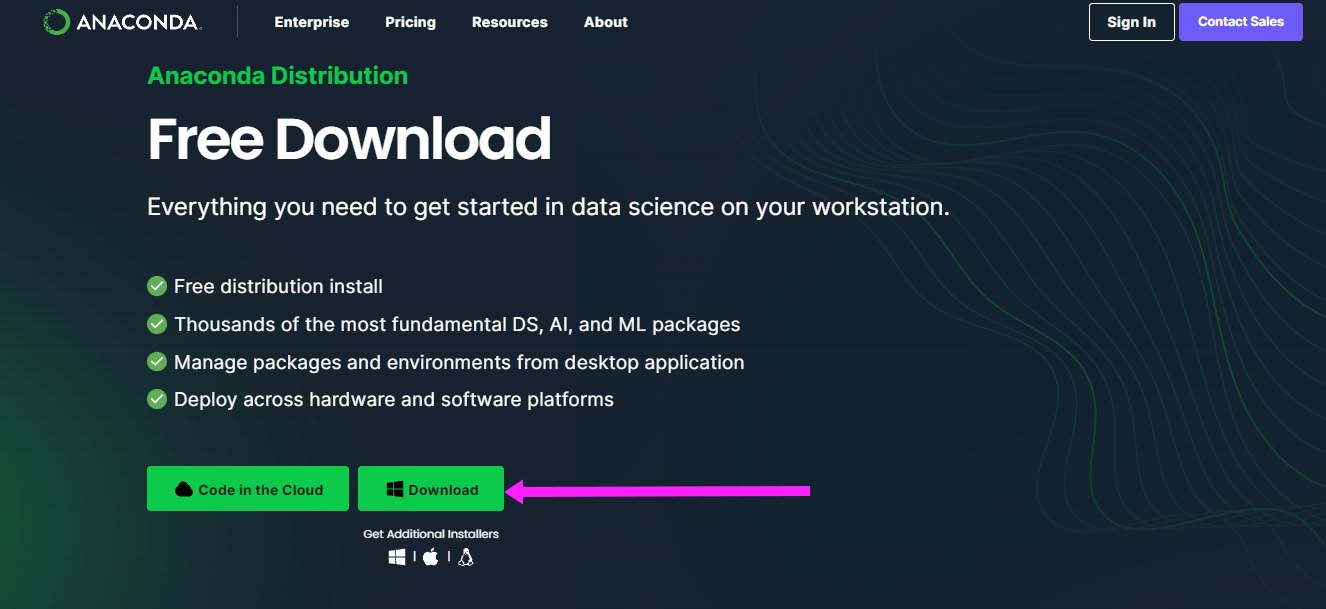
First, we need to install Anaconda. If you already have it, you can skip this step. Go to https://www.anaconda.com/download and click the download button.
After downloading the Anaconda setup file, just run it.
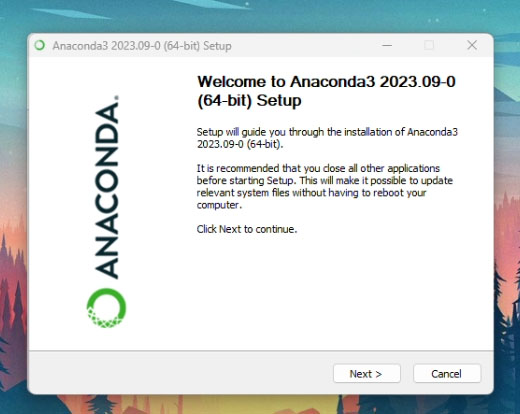
Install Anaconda using the default settings in the installer. Just click Next until you get to this page:
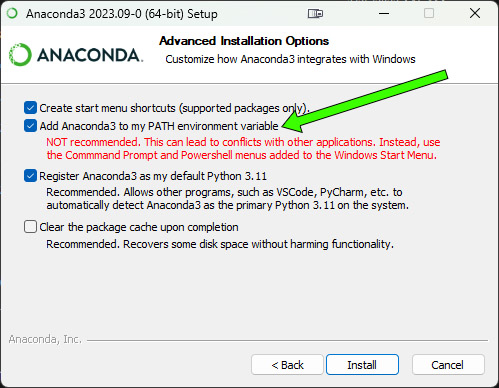
Go ahead and check Add Anaconda3 to my PATH environment variable. Ignore the warning. Click Next. At the end, don't run the Navigator. Just exit the installer.
Great, now that Anaconda is installed, we can use it to run Python in a separate environment. This means that anything we install within the Anaconda environment won't have any impact on your main system.
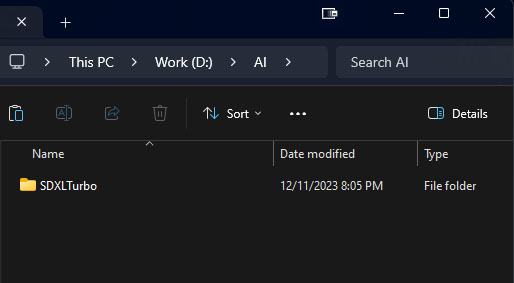
Now, choose a location on your work drive and make a folder. I'm going to call mine "SDXLTurbo" located in "D:\AI\SDXLTurbo".
We need to install git for Windows. If you already have it, you can skip this step. Go here and download git. https://gitforwindows.org/
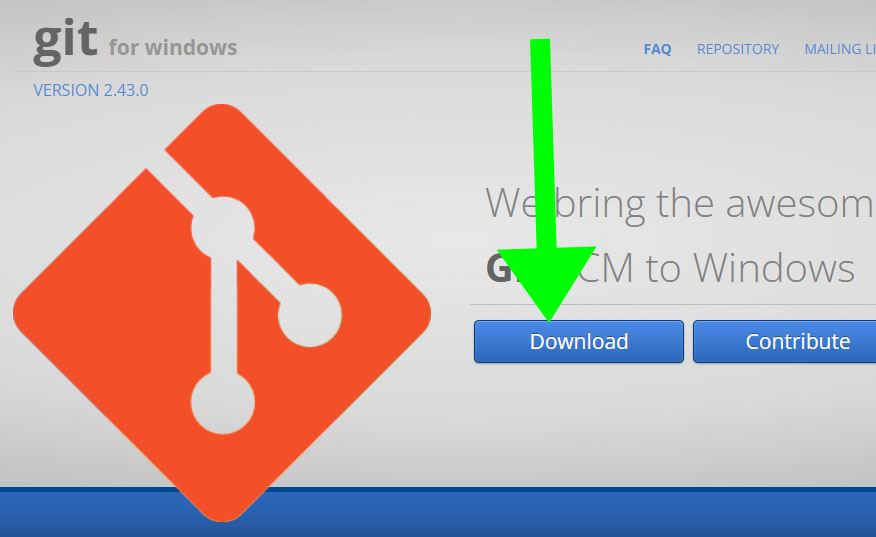
Click the Download button on the webpage and download Git for Windows. After downloading just run it. Click "Next" all the way through and leave the default settings.
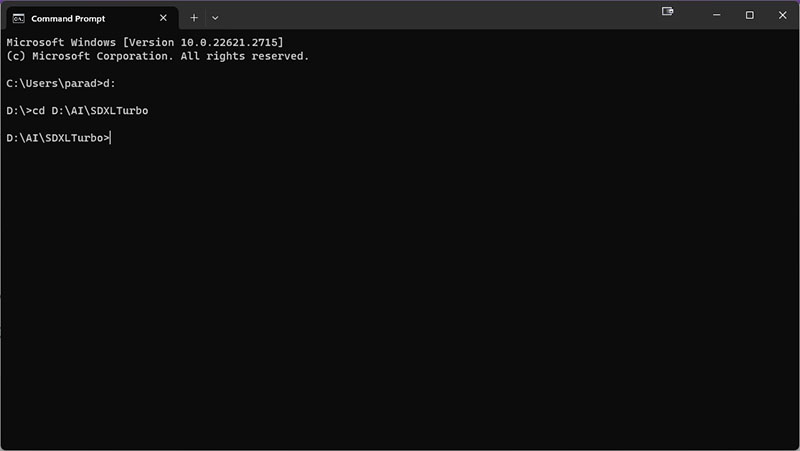
Now, run a Command Prompt in Administrator mode. You can find the Command Prompt by going to Search in your task bar and typing "Command Prompt". Once you locate the icon, right-click it and choose Run as Administrator.
In the command prompt, navigate to your folder:
Type this into the Command Prompt:
D:
cd D:\AI\SDXLTurbo
Now we'll create the sdxl-turbo environment in Anaconda. Type this into the Command Prompt:
conda create --name sdxl-turbo
When it asks, type "y" for yes.
When it completes, we will activate and enter the environment. Type this into the Command Prompt:
conda activate sdxl-turbo
The Command Prompt will change to reflect that we are now inside the sdxl-turbo environment: (sdxl-turbo) D:\AI\SDXLTurbo>
Click on "Files and versions".
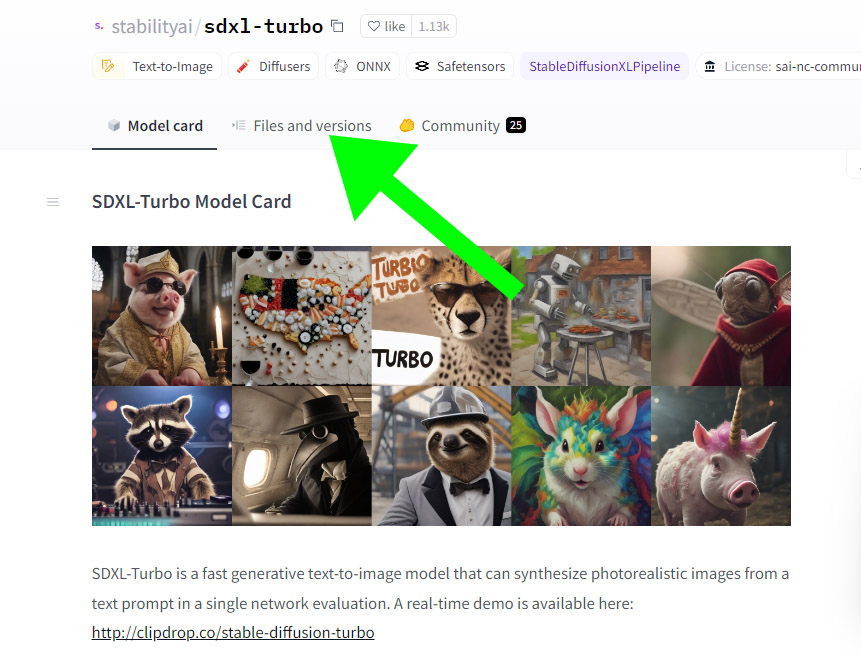
Now click on the button shown in this image and choose "Clone repository".

Copy the commands one by one and type them into the Command Prompt.
git lfs install
git clone https://huggingface.co/stabilityai/sdxl-turbo
What is happening is that we are making a clone of the sdxl-turbo repository. In other words, we are downloading the files needed to make this work. This project includes two huge files (the nueral weights) so it's gonna take awhile to download.
After it's done downloading please notice that a new folder has been created called "D:\AI\SDXLTurbo\sdxl-turbo". Inside this folder are all the files we cloned with git.
Now, install these requirements in the Command Prompt.
conda install -c conda-forge accelerate
pip install transformers
pip3 install torch torchvision torchaudio --index-url https://download.pytorch.org/whl/cu121
pip3 install diffusers
Now download this python script I made. It will allow us to test SDXLTurbo before plugging into Kari.
Download this Python script I made to access SDXLTurbo: [Link].
Unzip the file and put the script in "D:\AI\SDXLTurbo\sdxl-turbo" or whatever folder you're working from.
In the Command Prompt change directory to "D:\AI\SDXLTurbo\sdxl-turbo".
cd D:\AI\SDXLTurbo\sdxl-turbo
Now the fun part - let's make our first image. Type this into the Command Prompt using whatever prompt you want.
python sdxlTurbo1.py "A man kissing a woman."

The image should appear in a few seconds. The short time it takes to generate will make it ideal for chatting.
Now, let's run Kari Pro 6.1. Make sure you are running at least version 6.1. The file version is printed on the very first window when you run Kari.
You can update your Kari by going here.
Load up Kari and go to Menu > Python Kit.
If you haven't already we need to set the location of the Anaconda "activate.bat" batch file. Click the "SET ANACONDA activate.bat LOCATION" button. Now navigate to "C:\Users\your user name\anaconda3\Scripts\activate.bat" and click Open.
Now click the "ADD SCRIPT" button. Navigate to "D:\AI\SDXLTurbo\sdxl-turbo\sdxlTurbo1.py" and click Open.
Now click the "SET WORKING DIRECTORY" button. Navigate to and select "D:\AI\SDXLTurbo\sdxl-turbo" or wherever you installed SDXLTurbo.
Under the "Python Scripts" list, select the "sdxlTurbo1.py" script by clicking to make it selected. Now click the "SET ANACONDA ENVIRONMENT FOR SELECTED SCRIPT" button. Choose the Anaconda environment we created, which is "sdxl-turbo".
Now set the small slider below all the way to the right towards "Python Kit". That will make Kari use the script in chat all the time.
Now put this string into the argument list including quotes:
"#OutMessage #InMessage #PreviousOutMessage #PreviousInMessage #PrevPreviousOutMessage #PrevPreviousInMessage"
Now check the "Pass Through" checkbox.
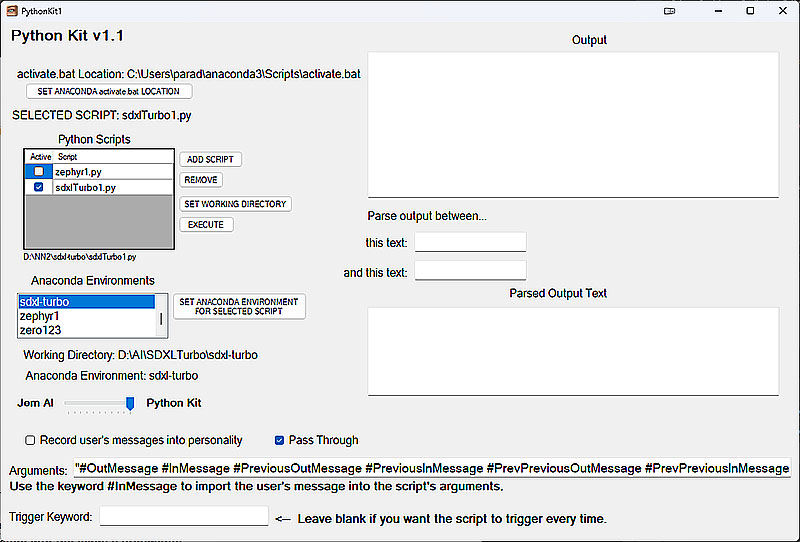
Now click "EXECUTE SCRIPT" button to test the script. We can see the output appear in the Output textbox. If everything is working you should see an image pop up in a few seconds.
Now under the Python Scripts list, make sure the "Active" checkbox for the script is checked so that Kari knows to run the script when you chat. Otherwise, nothing will happen.
Now exit the Python Kit and go to the main Chat Window. Start chatting!
Congratulations! You've reached the end of this tutorial! You now have real-time AI art generation while chatting!
D:
cd D:\AI\SDXLTurbo
conda create --name sdxl-turbo
conda activate sdxl-turbo
git lfs install
git clone https://huggingface.co/stabilityai/sdxl-turbo
conda install -c conda-forge accelerate
pip install transformers
pip3 install torch torchvision torchaudio --index-url https://download.pytorch.org/whl/cu121
pip3 install diffusers
Download this Python script I made to access SDXLTurbo: [Link].
Unzip the file and put the script in "D:\AI\SDXLTurbo\sdxl-turbo" or whatever folder you're working from.
In the Command Prompt change directory to "D:\AI\SDXLTurbo\sdxl-turbo".
cd D:\AI\SDXLTurbo\sdxl-turbo
Now the fun part - let's make our first image. Type this into the Command Prompt using whatever prompt you want.
python sdxlTurbo1.py "A man kissing a woman."
The image should appear in a few seconds. The short time it takes to generate will make it ideal for chatting.
Now, let's run Kari Pro 6.1. Make sure you are running at least version 6.1. The file version is printed on the very first window when you run Kari.
You can update your Kari by going here.
Load up Kari and go to Menu > Python Kit.
If you haven't already we need to set the location of the Anaconda "activate.bat" batch file. Click the "SET ANACONDA activate.bat LOCATION" button. Now navigate to "C:\Users\your user name\anaconda3\Scripts\activate.bat" and click Open.
Now click the "ADD SCRIPT" button. Navigate to "D:\AI\SDXLTurbo\sdxl-turbo\sdxlTurbo1.py" and click Open.
Now click the "SET WORKING DIRECTORY" button. Navigate to and select "D:\AI\SDXLTurbo\sdxl-turbo" or wherever you installed SDXLTurbo.
Under the "Python Scripts" list, select the "sdxlTurbo1.py" script by clicking to make it selected. Now click the "SET ANACONDA ENVIRONMENT FOR SELECTED SCRIPT" button. Choose the Anaconda environment we created, which is "sdxl-turbo".
Now set the small slider below all the way to the right towards "Python Kit". That will make Kari use the script in chat all the time.
Now put this string into the argument list including quotes:
"#OutMessage #InMessage #PreviousOutMessage #PreviousInMessage #PrevPreviousOutMessage #PrevPreviousInMessage"
Now check the "Pass Through" checkbox.
Now click "EXECUTE SCRIPT" button to test the script. We can see the output appear in the Output textbox. If everything is working you should see an image pop up in a few seconds.
Now under the Python Scripts list, make sure the "Active" checkbox for the script is checked so that Kari knows to run the script when you chat. Otherwise, nothing will happen.
Now exit the Python Kit and go to the main Chat Window. Start chatting!
Congratulations! You've reached the end of this tutorial! You now have real-time AI art generation while chatting!